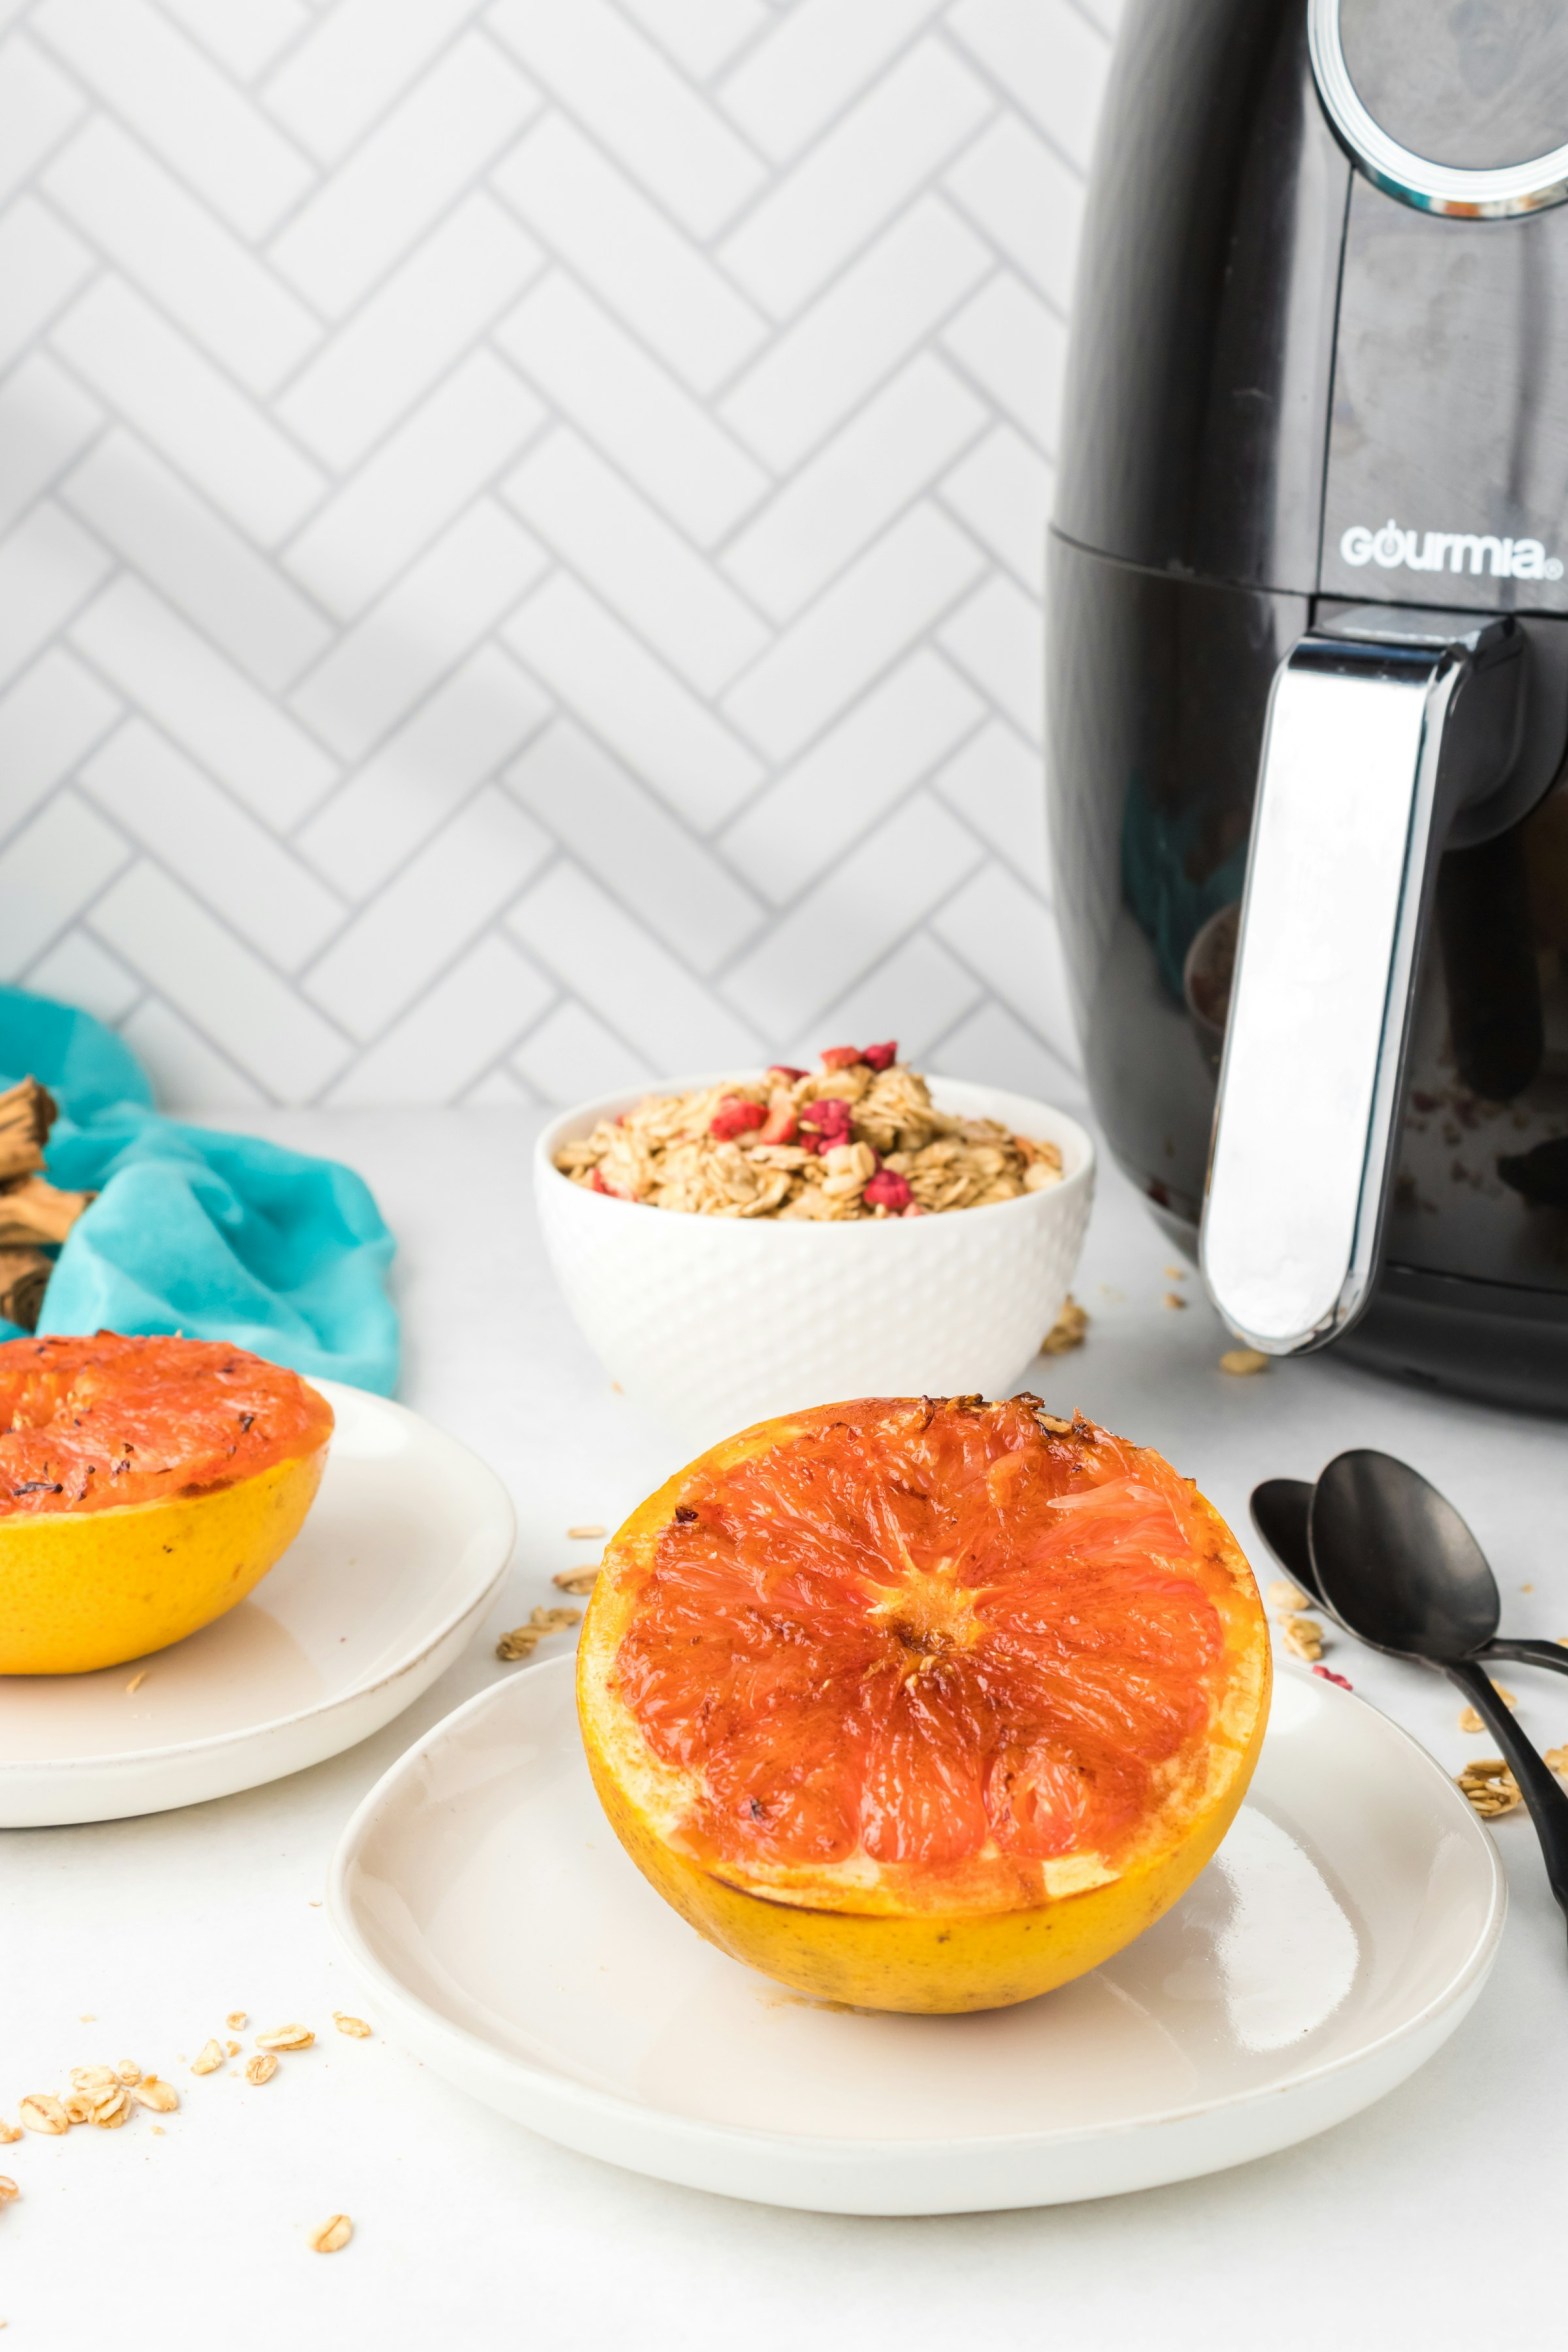
Are you still debating whether an air fryer is worth the hype? I was skeptical too. For a long time, I thought my trusty oven could do everything an air fryer could. But after using a countertop air fryer at my in-laws’ home, I’m now a full-on air fryer convert! Let’s dive into why this trendy kitchen gadget is not just hype but a game-changer for healthy and delicious meals.
你還在猶豫空氣炸鍋值不值得買嗎? 我之前也有同樣的疑慮,一直覺得烤箱就可以取代它。但自從在公婆家使用了檯面型空氣炸鍋後,我完全改觀!以下分享為什麼空氣炸鍋真的值得投資。
Air Fryer vs. Oven: What’s the Real Deal?氣炸鍋 vs 烤箱:真的有差嗎?
While it’s true that ovens can mimic some air fryer functions, there are key differences that make air fryers worth considering:
雖然烤箱能完成部分空氣炸鍋的功能,但這幾點讓空氣炸鍋脫穎而出:
1. Faster Preheating 加熱更快
Air fryers heat up within minutes—much faster than the 10-15 minutes most ovens require. This means less waiting and more cooking! 空氣炸鍋幾分鐘就能預熱完成,而烤箱可能需要10-15分鐘。
2. Crispier Texture 更酥脆的口感
Thanks to the rapid air circulation technology, air fryers deliver crispier and more evenly cooked results, especially for foods like fries or chicken wings. 快速熱風循環技術讓食物更均勻酥脆,特別適合炸薯條、雞翅等。
3. Compact Convenience 節省空間
The countertop air fryer takes up less space, especially if you opt for models like the Ninja SP101, which can flip upright for easy storage. Compared to traditional, bulkier air fryers, it’s surprisingly space-efficient.
像Ninja SP101這樣可翻折收納的設計,完全顛覆對空氣炸鍋占空間的印象!
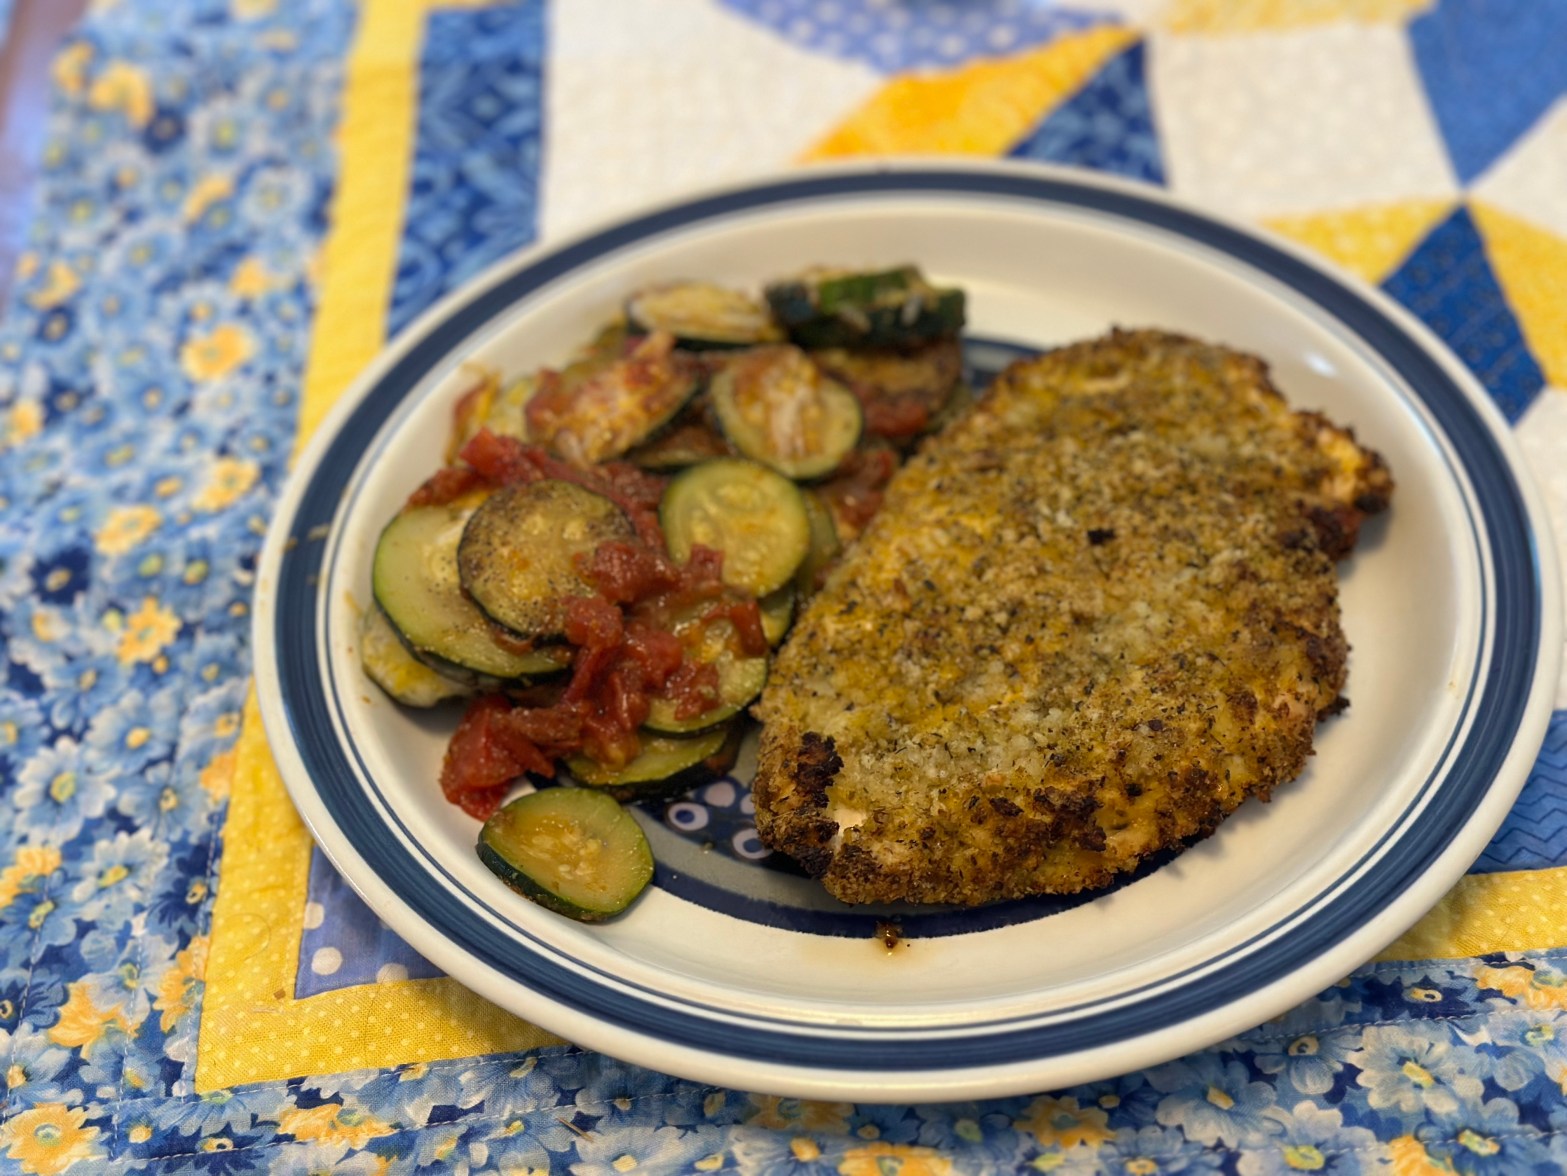
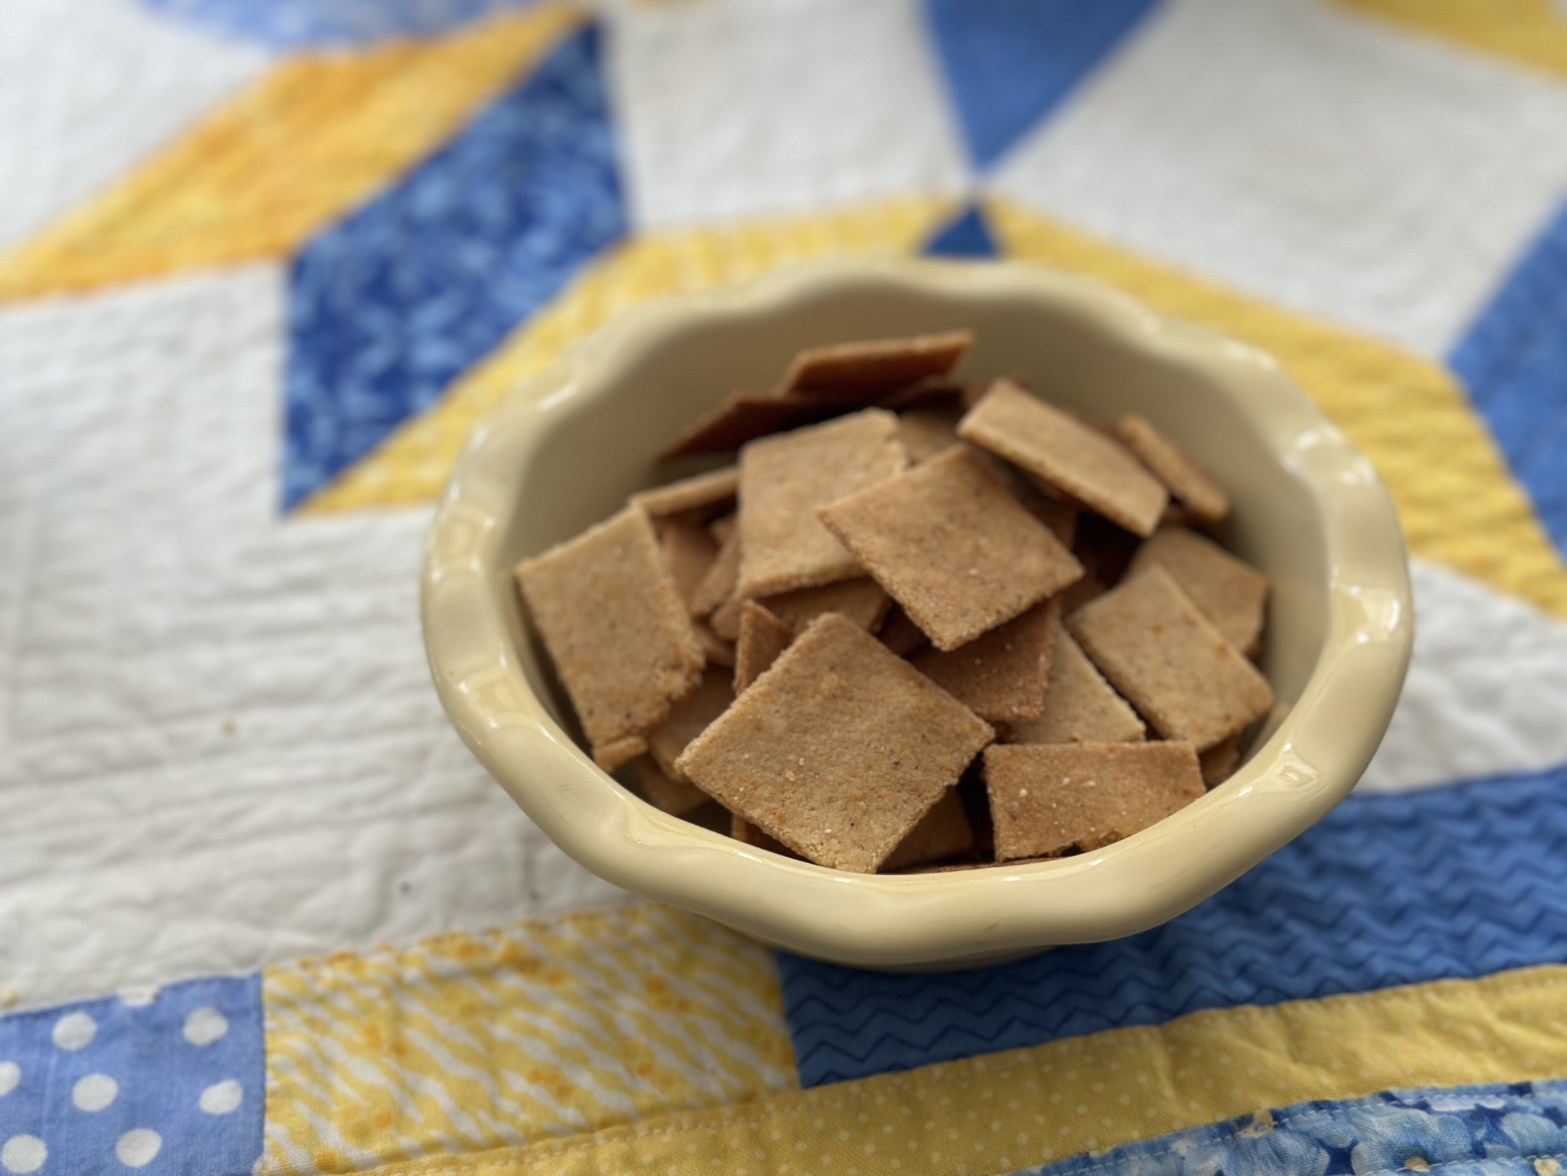
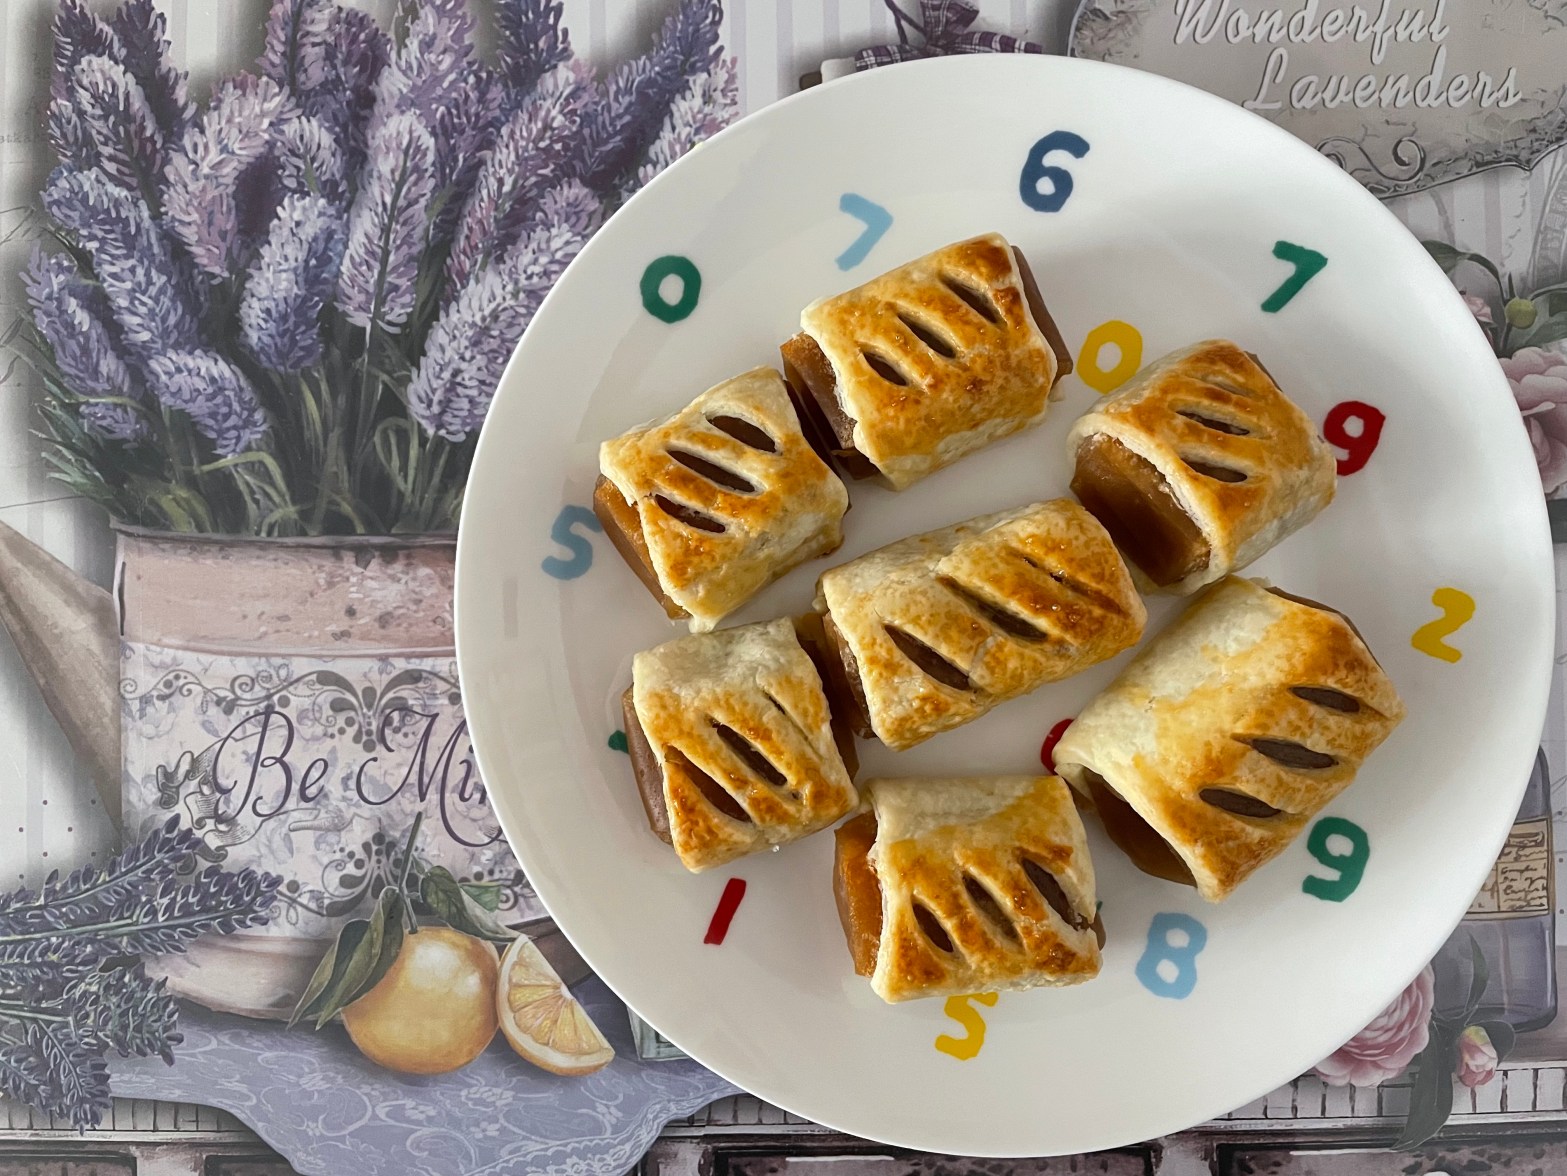
One of my favorite dishes to make with my air fryer is crispy air-fried chicken—it’s so easy and delicious! I even made a step-by-step recipe video on YouTube to show how you can recreate it at home. Trust me, this dish will have everyone coming back for seconds! Check it out and give it a try. 用空氣炸鍋做過最好吃的一道菜就是酥脆炸雞! 超簡單又好吃~我還特地拍了YouTube影片,手把手教大家怎麼在家做出來。相信我,這道菜一定讓全家人搶著吃!快去看看,試試看吧~
Top Air Fryer Options to Consider 推薦空氣炸鍋款式
Whether you’re looking for premium features or a budget-friendly option, these air fryers from Ninja and Amazon Basics have you covered. 無論你要高端功能還是便宜實惠,以下這些 Ninja 和 Amazon Basics 氣炸鍋都很值得推薦!
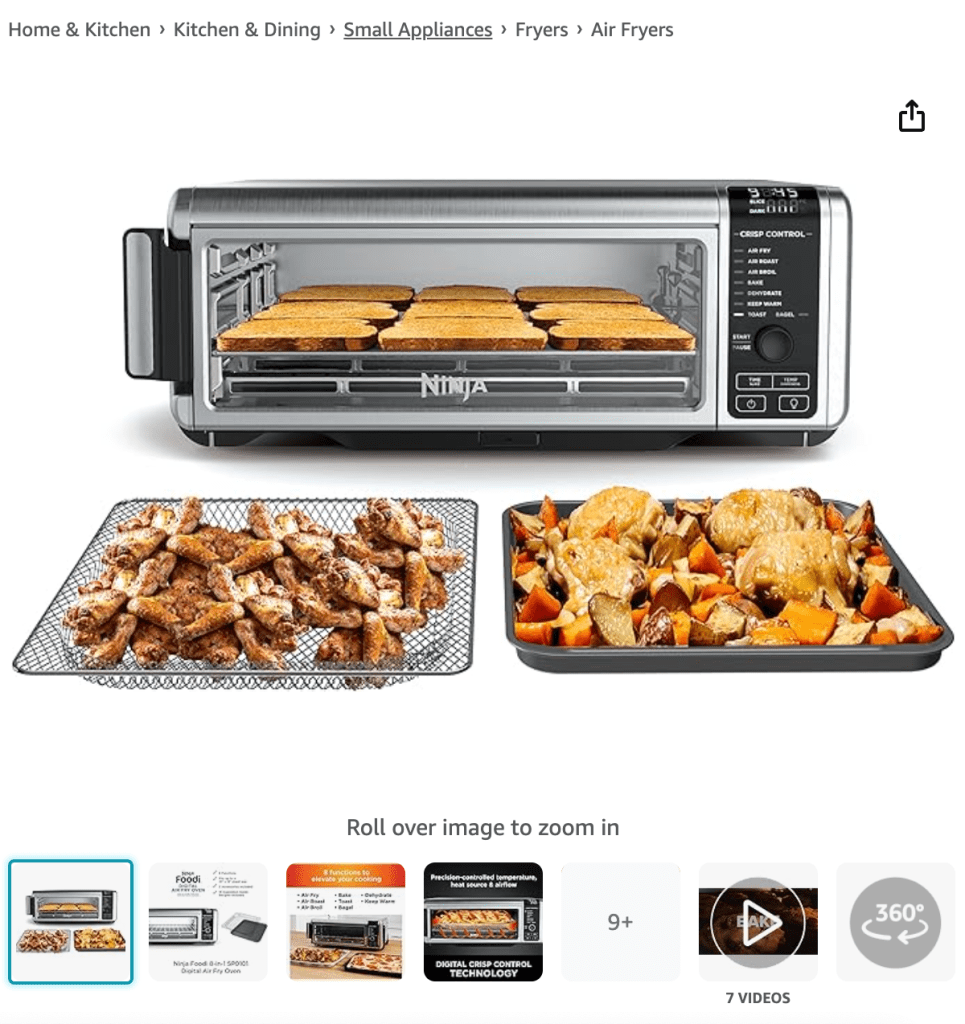
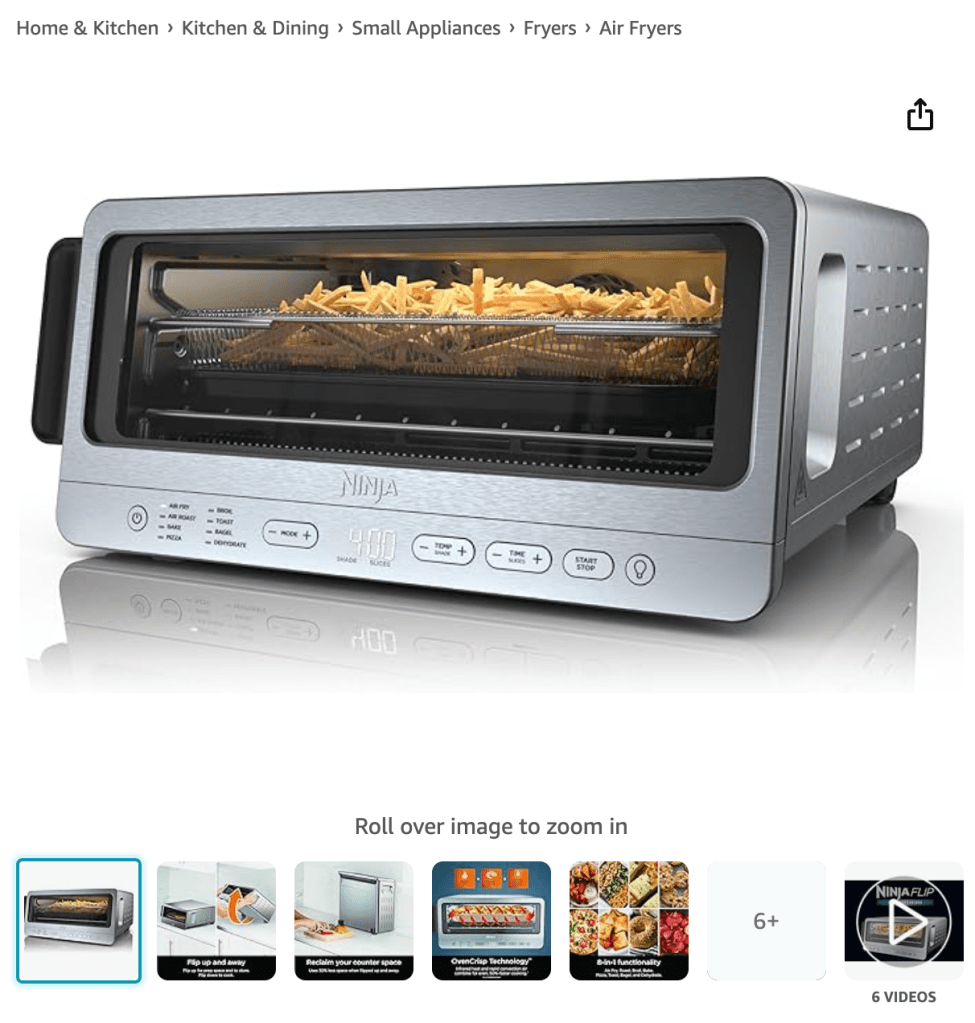
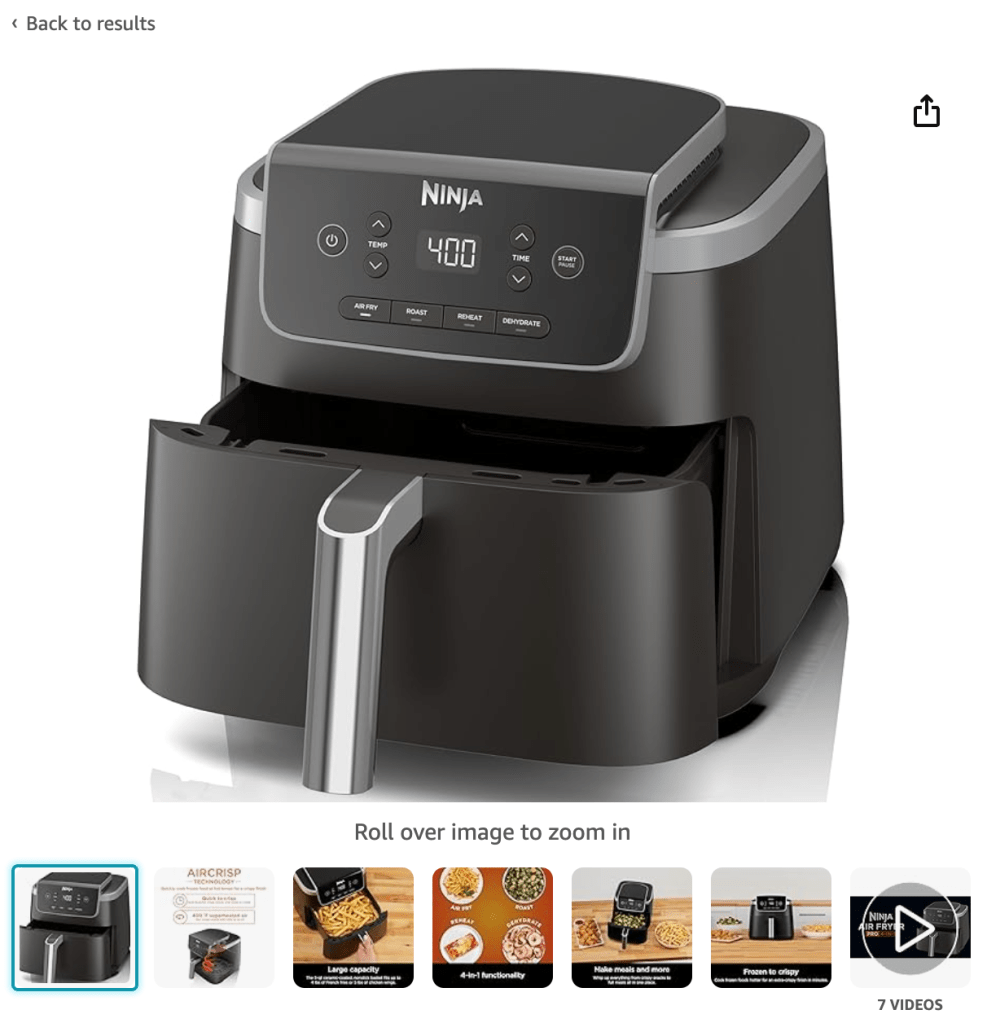
1. Ninja SP101 Digital Air Fry Countertop Oven
Compact design meets family-sized capacity 小身型,大容量。
This is my go-to air fryer! It’s an 8-in-1 multifunctional gadget perfect for air frying, roasting, baking, and more. The flip-away feature saves space, and the larger basket can handle meals for up to 4 people.這款空氣炸鍋具備8合1功能,適合家庭使用,翻折收納設計也特別節省空間。
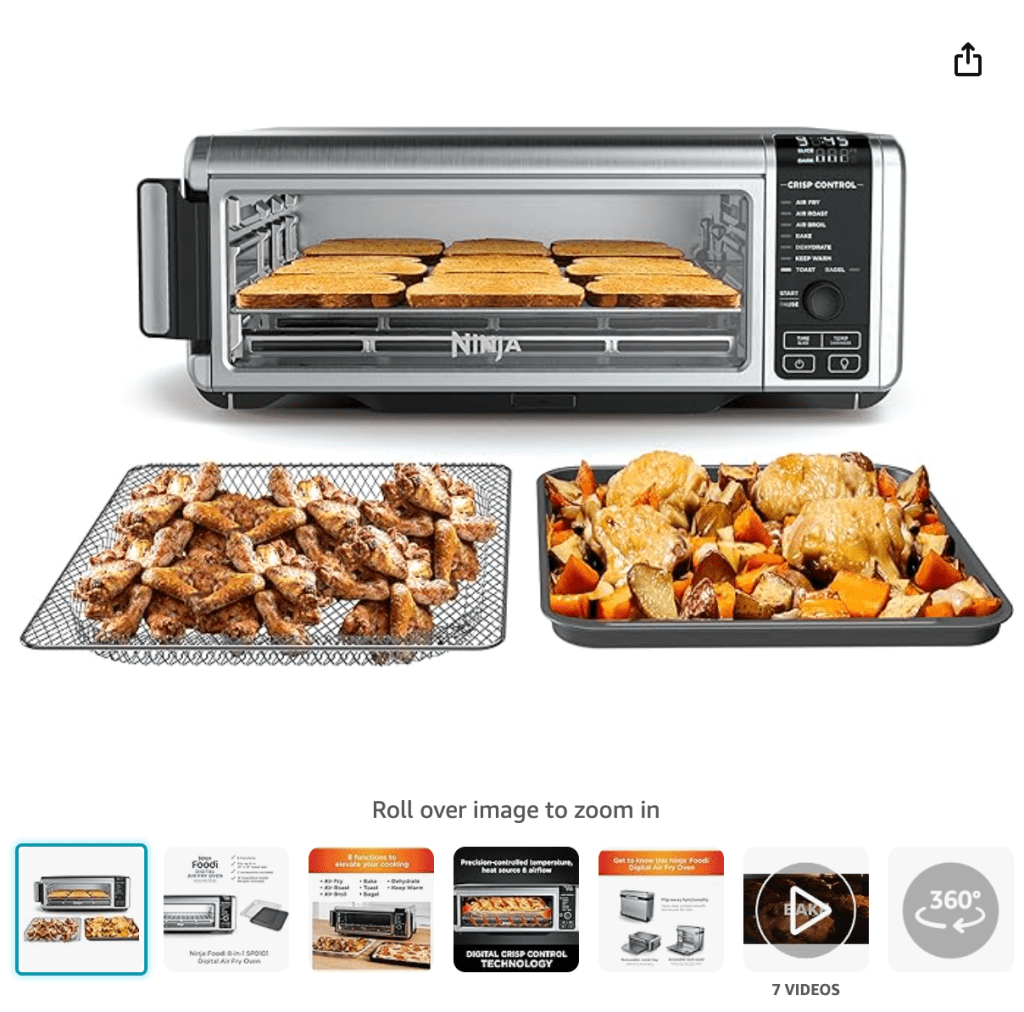
Key Features 亮點:
- Fast preheat and multiple cooking modes. 快速預熱,多樣烹飪模式
- Flip-up storage to save counter space. 可翻折收納,節省檯面空間
- Air fry basket for perfectly crisp results. 炸籃設計,確保酥脆效果
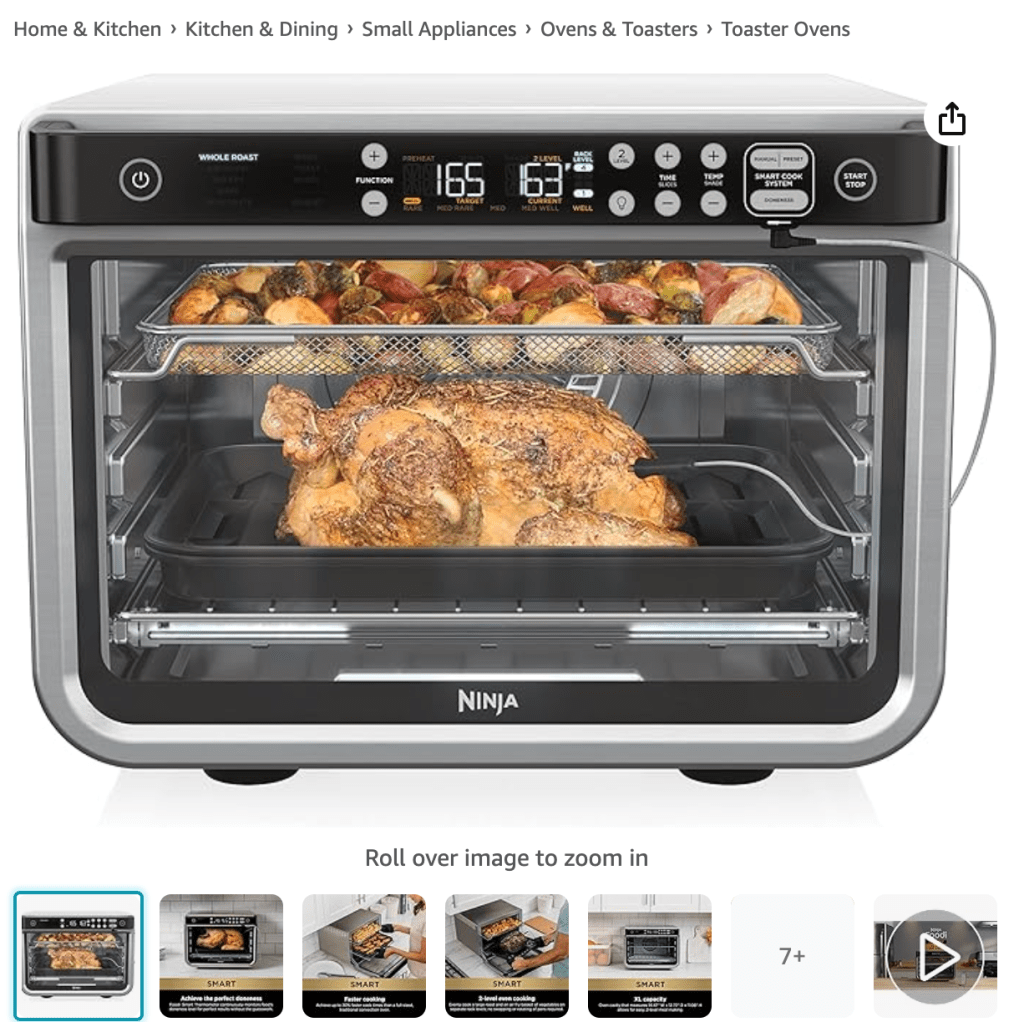
2. Ninja SP351 Toaster Oven Air Fryer Combo
The all-in-one powerhouse for quick, healthy meals. 13種功能,一機搞定!
This upgraded version adds even more functionality with 13 modes, including dehydrating and precision cooking with a built-in thermometer.
升級版附溫度計,更適合精準烹飪需求。
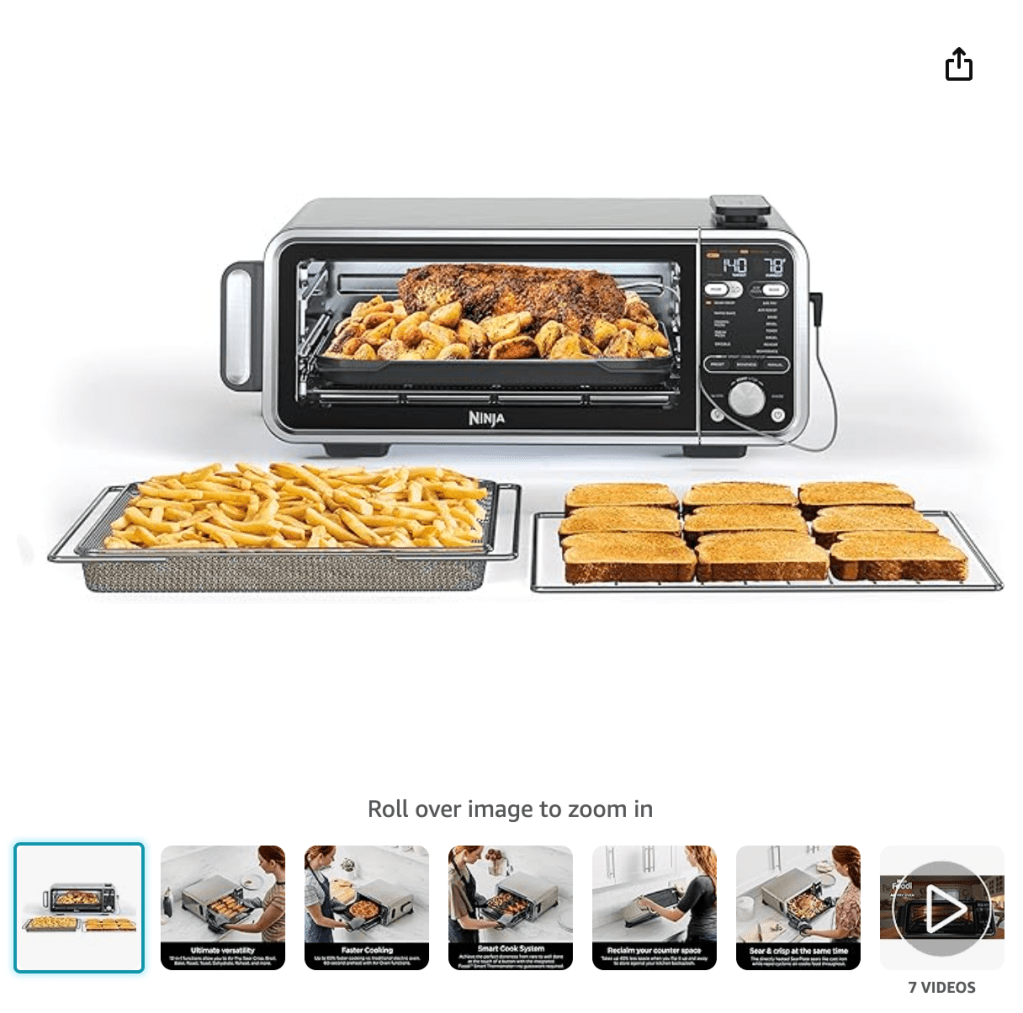
Key Features:
- 13-in-1 versatility, including toasting and air frying. 13合1功能,包括烤麵包與空氣炸
- Built-in thermometer for perfect cooking. 內建溫度計,精準掌控火候
- Sleek stainless steel design. 不鏽鋼外觀,時尚耐用
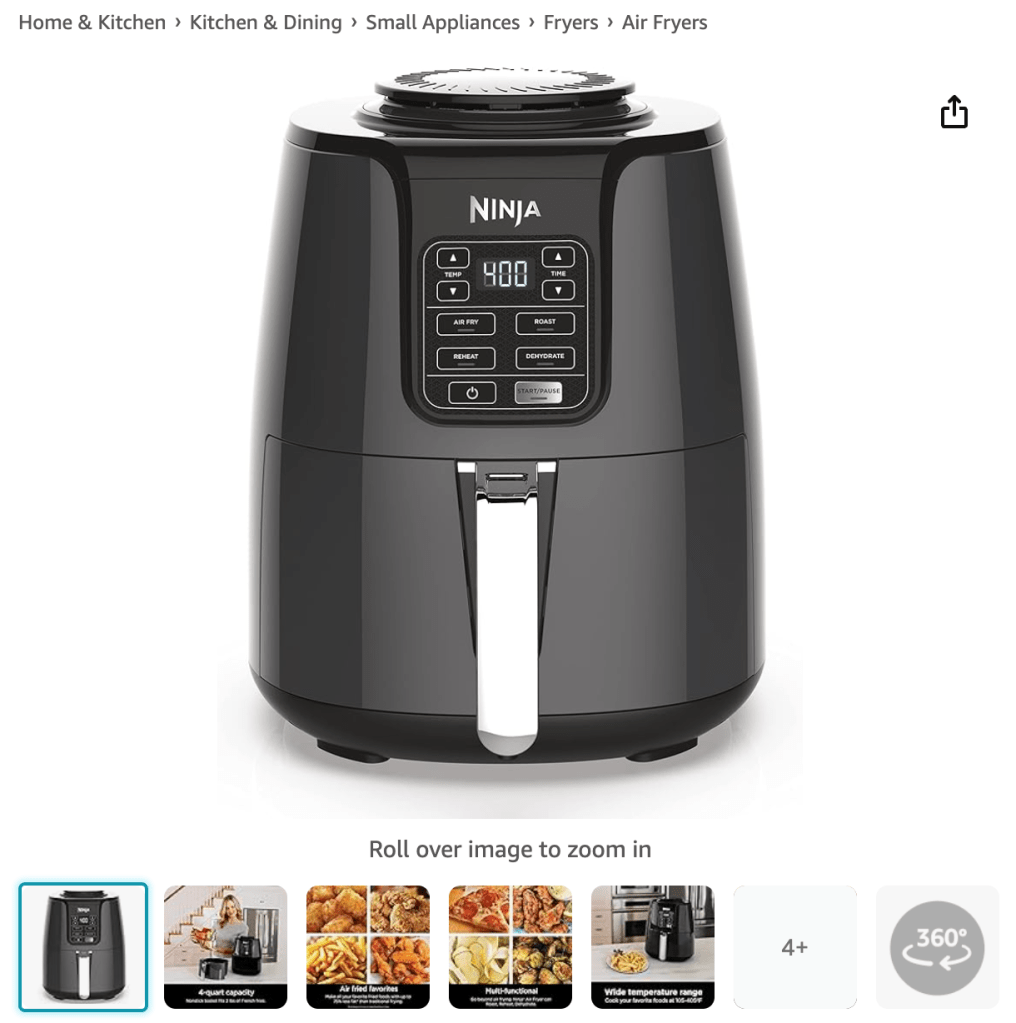
3. Ninja AF101 Air Fryer
Compact, budget-friendly, and big on flavor. 小而美,價格親民。
This 4-quart air fryer is great for smaller kitchens or households. It’s a reliable and affordable choice that doesn’t compromise on quality.
4夸脫容量適合小家庭或新手廚師。
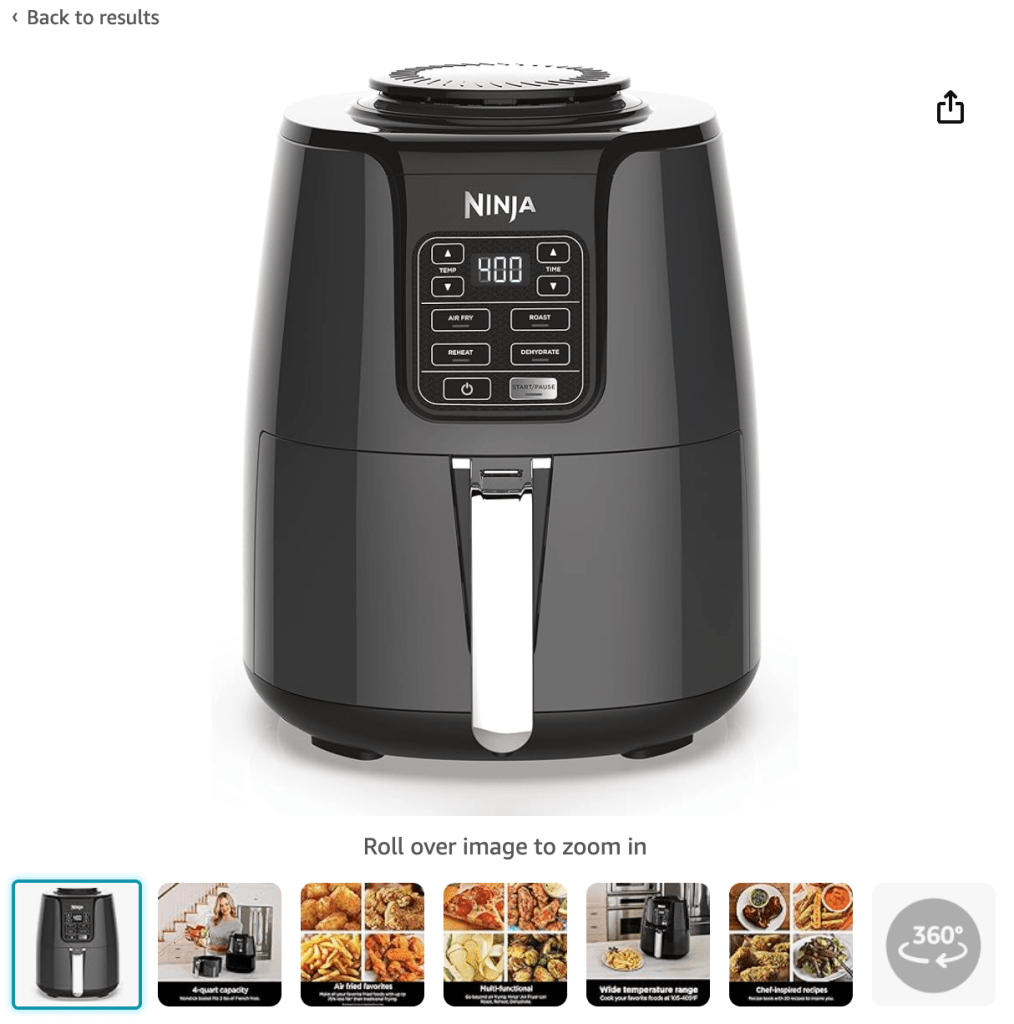
Key Features:
- 4-in-1 functionality for versatile cooking. 4合1功能,烹飪多樣化
- Compact design ideal for small spaces. 小巧設計,適合狹小空間
- Less oil for healthier meals. 用油更少,健康又方便
4. Ninja AF141 Air Fryer Pro
Bigger capacity, better results. 大容量,酥脆效果更升級!”
With a 5-quart capacity, this model is ideal for larger families. It’s currently 33% off, so now’s the time to grab this deal! 5夸脫容量適合大家庭使用,目前享33%限時優惠!
Key Features:
- Air Crisp technology for perfectly crispy results. 快速熱風技術,打造完美酥脆感
- Nonstick basket and crisper plate for easy cleanup. 不沾鍋內籃,清潔超方便
- 400°F max temperature for fast cooking. 高達400°F,料理快速完成
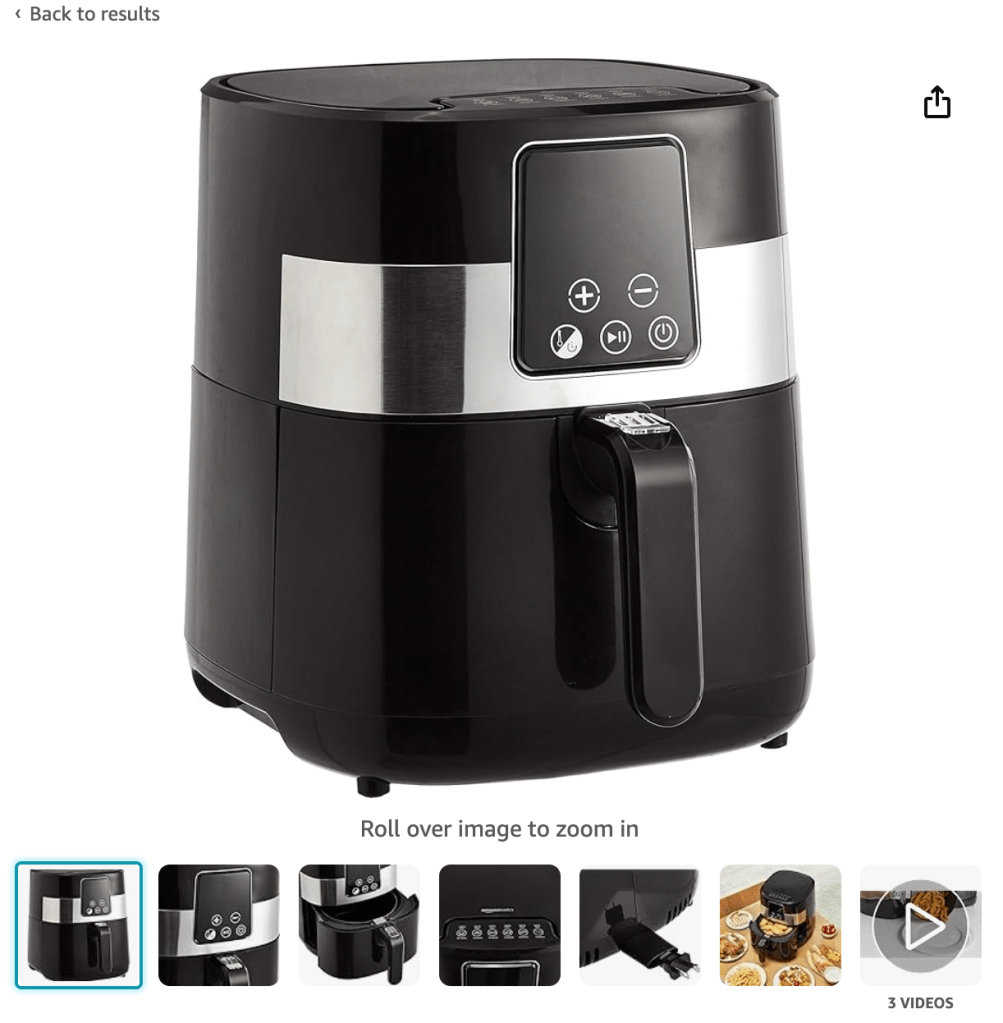
5. Amazon Basics Air Fryer
Simple, efficient, and budget-friendly. 平價選擇,功能齊全。
For those on a tight budget, this smaller-capacity air fryer offers great value without sacrificing key features like air frying, roasting, and dehydrating. 對於預算有限的人,這款空氣炸鍋兼具多功能和高性價比。
Key Features 產品特色:
- 3.2-quart capacity, perfect for 1-2 people. 3.2夸脫容量,適合1-2人份
- Multi-functionality at a wallet-friendly price. 多功能用途,價格親民
- LED digital display for ease of use. LED顯示屏,操作簡單方便
Why You Should Get an Air Fryer Today 為什麼今天就該入手空氣炸鍋?
Air fryers aren’t just trendy—they’re practical, efficient, and healthy. They cut down on cooking time, help you use less oil for deep-fried-like results, and fit seamlessly into your kitchen. Whether you’re a busy parent, a health enthusiast, or just someone who loves crispy food, an air fryer is the ultimate kitchen gadget you didn’t know you needed.
空氣炸鍋不僅僅是流行,它實用、高效又健康。能縮短烹飪時間,少用油卻能達到炸物效果,還能完美融入你的廚房。不管你是忙碌的爸媽、健康飲食愛好者,還是愛吃酥脆食物的人,空氣炸鍋絕對是你廚房裡不可或缺的神器!
Ready to take the plunge? Check out these options and elevate your cooking game! 現在就下手,升級你的料理生活吧!

About Me
Hi, I’m Joyce. I’m originally from Hong Kong. I’m passionate about food, cooking, and travel. Thanks for visiting! 我是Joyce,來自香港,熱愛美食、烹飪、旅遊,謝謝你瀏覽我的網頁!


Subscribe to My Blog 訂閱我的博客
As an Amazon Associate, I earn commission from qualifying purchases.
COPYRIGHT@2024 港姐廚房人生 Ms HK’s Kitchen